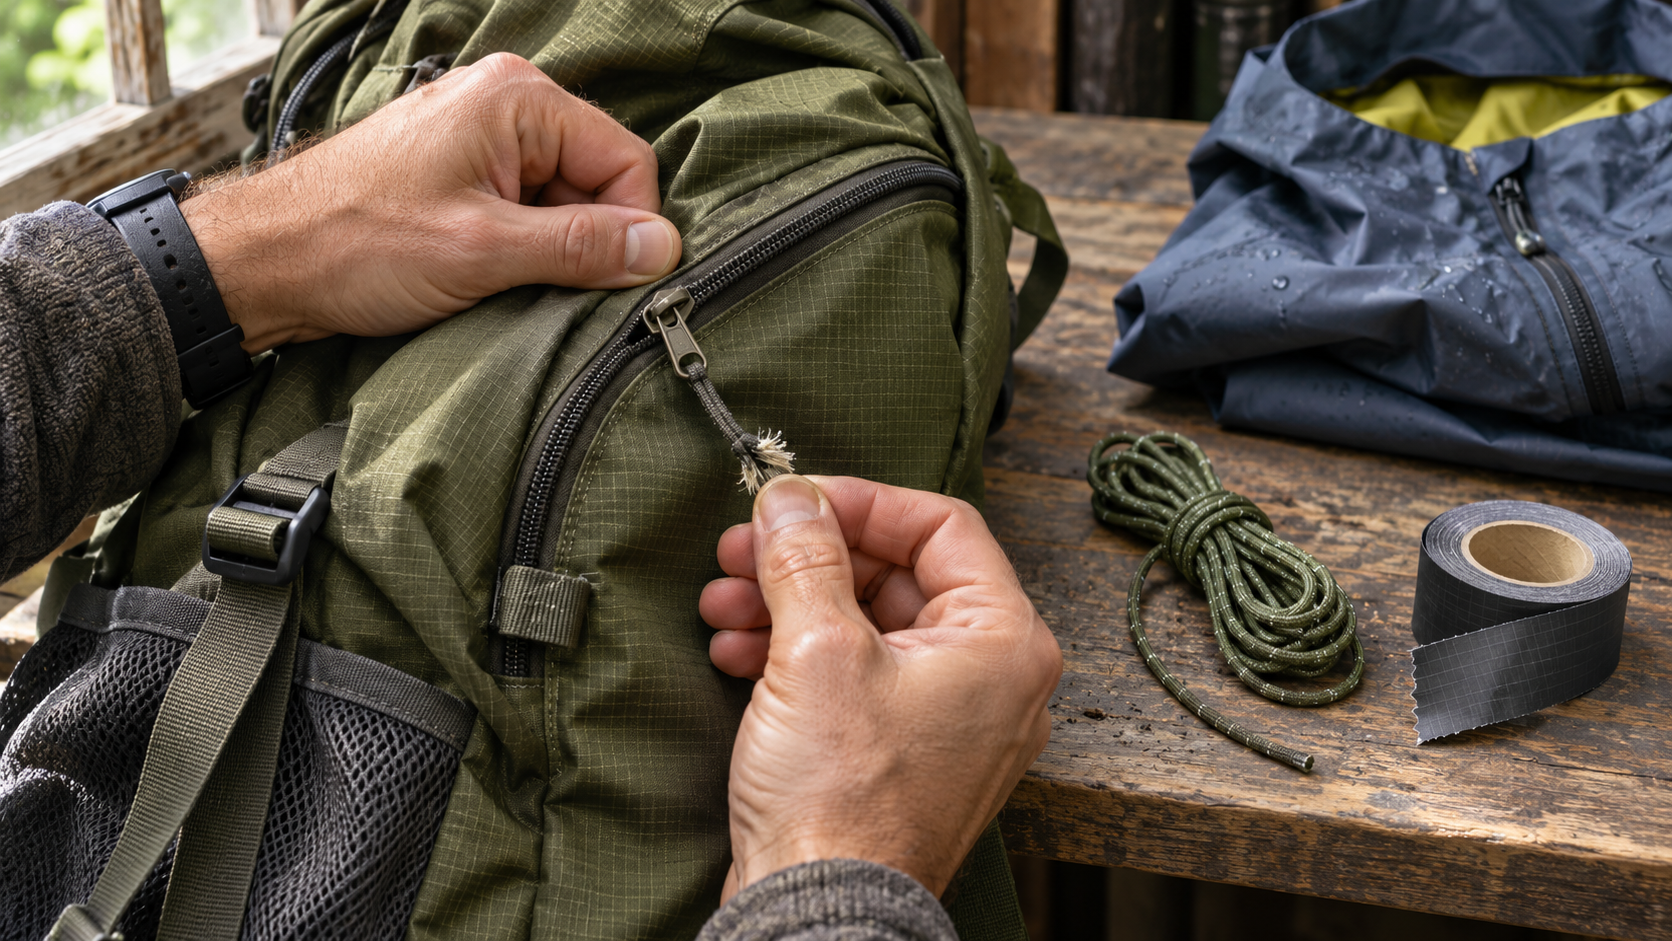
A zipper pull snaps as you pack up in the rain. The zipper itself still works, but the tiny metal tab left behind is hard to grip. A short loop of spare cord could get the bag opening again. A pouch full of tools won’t help much if it contains nothing that fits through the tab.
A useful emergency gear repair kit starts with the equipment you carry. Lay it out, look for the parts you handle most, and match each likely failure to a fix you can try at home.
Inspect the parts you touch every trip
Pack your bag as you normally would. Open the pockets, adjust the straps, and put on your rain shell. Notice which parts snag, slip, or already show wear. Check zipper pulls, pocket mesh, loose strap ends, and fabric that rubs against buckles or other hardware.
Sort what you find into two groups. A missing zipper pull or small tear in a pocket can often wait for a temporary fix. A shoulder strap pulling away from the pack needs attention before the trip. If you’re unsure whether a damaged part can still do its job safely, check the manufacturer’s repair guidance.
Match the repair supply to the problem
| Common problem | What to carry | What to check at home |
|---|---|---|
| Broken zipper pull with the slider still intact | A short length of cord | Can it pass through the attachment hole and form a loop you can grip? |
| Small tear in a compatible bag panel or rain shell | A fabric patch specified for that material | Does the product require a clean, dry surface or time to set? |
| Loose webbing tail | A keeper that fits the strap width | Does it hold the loose end without interfering with the adjuster? |
| Small hole in a non-load-bearing pocket | A compatible patch or sewing supplies you know how to use | Can you reach the damaged spot without taking the bag apart? |
Start with the rows that apply to your gear. If your rain shell needs a different patch from your pack, mark each packet so you can tell them apart. Follow the patch instructions, especially on coated fabric. A cosmetic patch can cover a tear, while restoring waterproof performance may require a separate repair.
Practice the repair you’re counting on
Use a spare zipper slider or an old bag to test the cord loop. Try it with the gloves you usually wear. If you struggle to feed the cord through at the kitchen table, swap it for a size that fits or install an easier-to-grip pull before leaving.
Read patch instructions while the packaging is intact. If a patch needs a dry surface or time to set, plan around that. For example, a pack liner can help keep contents dry while you wait for a chance to repair a torn pack panel.
Keep repair supplies where you can reach them
Use a small pouch and give it a regular pocket. Keep adhesive patches in their original backing and pack their instructions with them. If you carry a needle, secure it in a case so it cannot poke through the pouch.
After each use, replace what you used and check whether the original item needs a permanent repair. Put the damaged gear where you’ll see it while packing next time. That makes it harder to forget a temporary fix that’s been out of sight for weeks.
Know when to change the plan
A temporary repair is useful when it restores a small convenience, such as opening a pocket or keeping loose webbing out of the way. If damage affects a load-bearing strap, climbing gear, or another piece of safety equipment, stop relying on the damaged part and follow the manufacturer’s guidance. If a failed rain layer leaves you without adequate protection for the conditions ahead, consider a shorter route or turn back.
Before the next outing, check the three pieces of gear you use most. Fix the wear you can already see, then pack supplies for the minor failures you’ve practiced handling.